
D4 JOURNAL · DESIGN, PRINT, TEST
Pet Can Duo and the nine rings I threw out
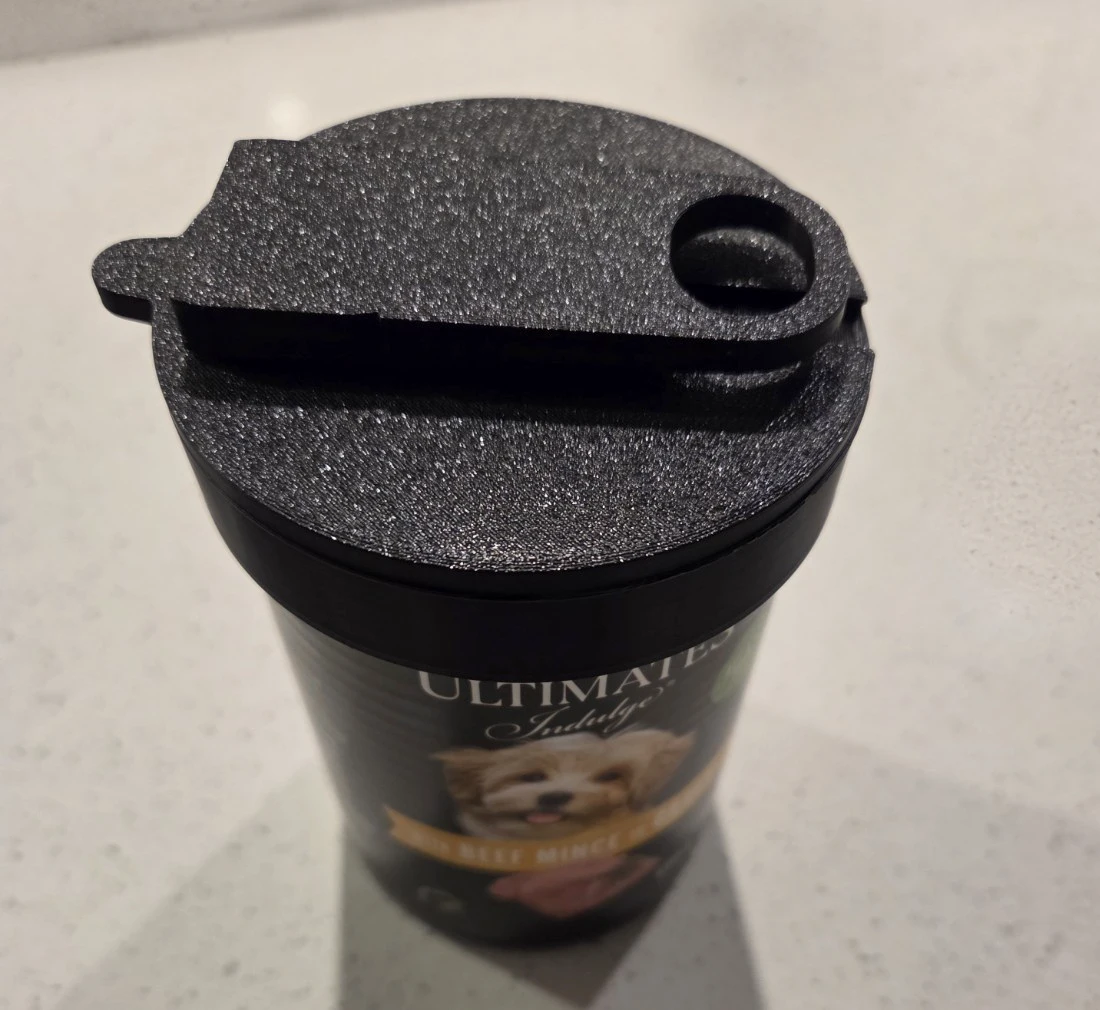
My dog gets half a tin at dinner. I wanted a lid I could pop over the leftovers, with a little ring-pull opener that lived on top. I already had three tried-and-tested soda-can openers. Surely I could borrow the working end from one of those, print a lid and call it a night.
At least nine test rings went in the bin. And the opener still had its own list of complaints.
The ring that fit the wrong end
MakerMouse, my AI assistant, helped turn the first measurements into small test prints called coupons. For the lid, a coupon is just the bit that goes around the tin. I could change the rim fit and try again without printing a whole lid each time.
One early ring slipped over the bottom of the tin. I flipped the tin over and found it couldn’t clear the rolled top lip. A wider ring started over the top, then sat high on one side. The P22 trial finally seated all the way around, but the grip was still light.
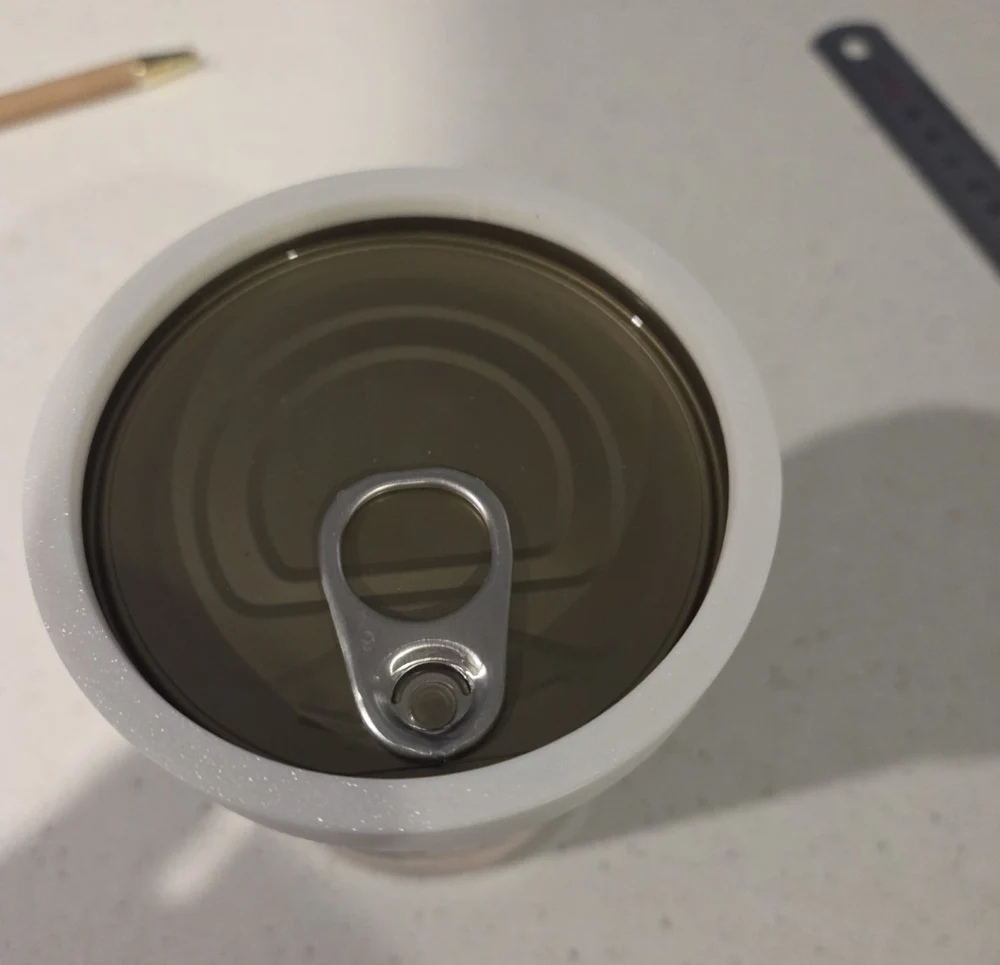
The better fit came from changing the shape around the rim. I added a short inner wall so the rolled edge sat in a channel. The outer skirt ended up with a 5 mm tapered lead-in to guide the lid on, followed by a straight 10 mm section for the seated fit. A small bevel, or chamfer, helped the 3 mm inner wall get past the edge without catching.
The 15 mm test ring gave me the snap I was after. It stayed on when I handled the tin and came off when I deliberately lifted it. The 75.2 mm seat is the model dimension that worked on my reference tin. I’d print the ring first for another tin, even if it also says 400 g on the label.
Three working soda-can openers and one stubborn tab
The pet-food ring pull sits closer to the lid than the soda tabs I’d been working with. My first pet-can opener took in about 3–4 mm of the tab before it jammed. I widened the opening through to the back and tried a thinner nose. Getting the tool under the ring was only the first hurdle. It still needed room for the ring to slide all the way in.
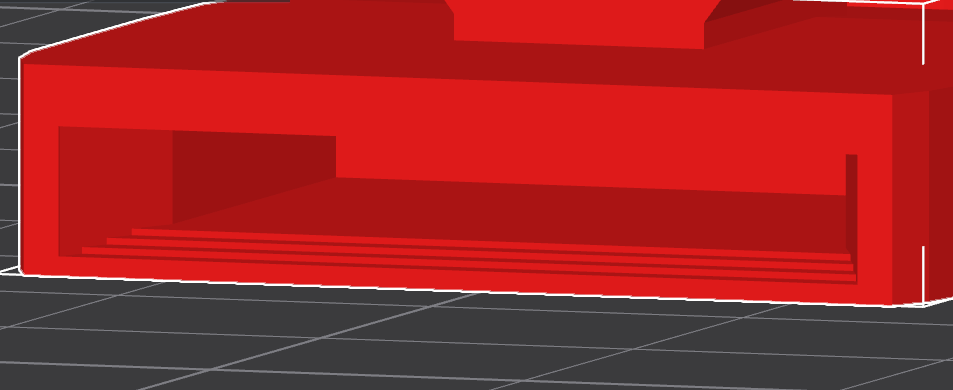
The ramp starts at 0.6 mm at the nose and rises to 1.2 mm over 3 mm. Once the tab would go in, I found the 55 mm handle still left me fishing for finger room. I moved the finger hole back and stretched the handle to 69 mm. I also put 0.2 mm of material back on each side of the mouth, where widening it had left less wall.
The storage rail got its own test
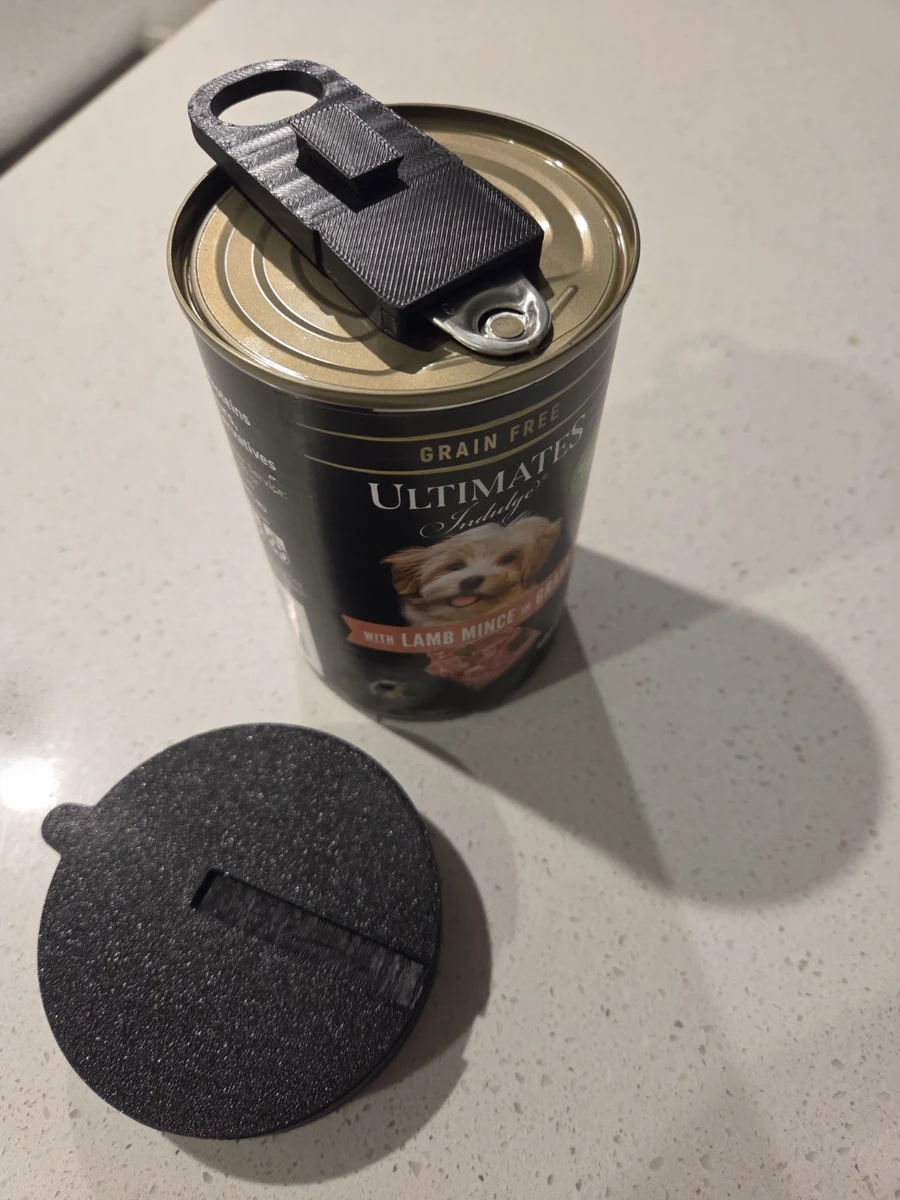
I started with the idea of building the opener into the lid. Making it a separate piece gave each part a broad face to print on and meant I could take the opener off to use it. A rail that widens at the top, called a dovetail, slides into a matching groove and stops at the closed end.
The first groove let the rail slide a bit too freely. I took 0.2 mm off the clearance on each side and printed another little groove to try with the rail I already had. It was tight at first and settled into a firm slide after roughly a dozen goes. The final handle carries an 18 mm rail, repositioned so the longer opener parks on top of the lid without sticking over the edge.
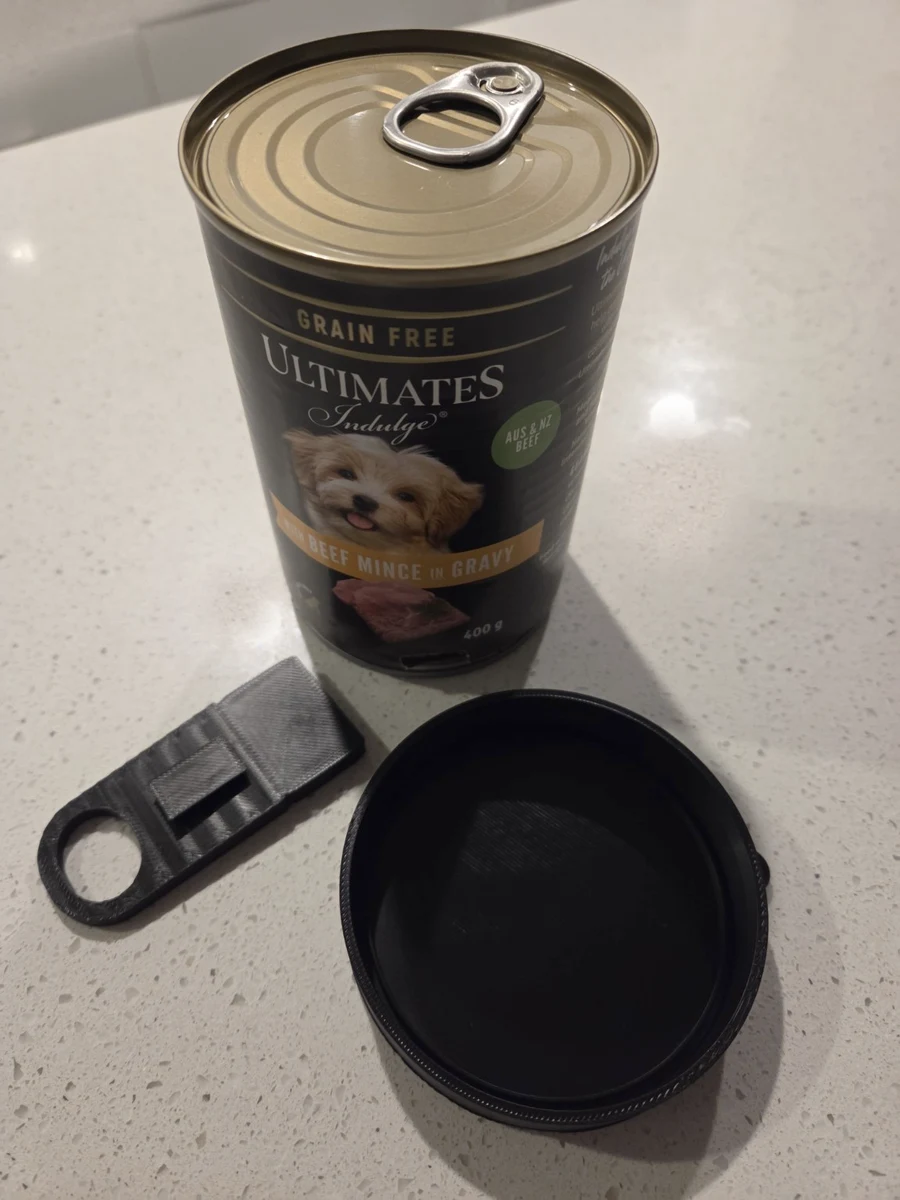
What I’d do again
I’d print the three troublesome bits separately again. The ring answered whether the lid would seat. The opener trial showed where the tab jammed. The little dock coupon told me how the rail felt in my hand. And I’d test on the top of the tin first. That one should have been obvious.
The released pair was sliced for PLA on my Creality K2 Pro. Creality Print estimated 59 min 49 s and 28.03 g for the full lid and opener plate. I checked the lid fit, opener engagement and how the two pieces park together on the pictured Ultimates Indulge 400 g tin. Airtightness and a full loaded peel with the final opener are still open tests.
The download includes the lid, the opener and the final fit ring. There’s enough filament in my bin already. Start with the little ring if you’re trying it on a different tin.